Melting: Beware of highly reflective windows on the south or west side of your home. In certain conditions, sunlight hitting these windows has created a “magnifying glass effect”, which acts much like a laser and will melt your turf. A coating on the outside of the window will prevent this.
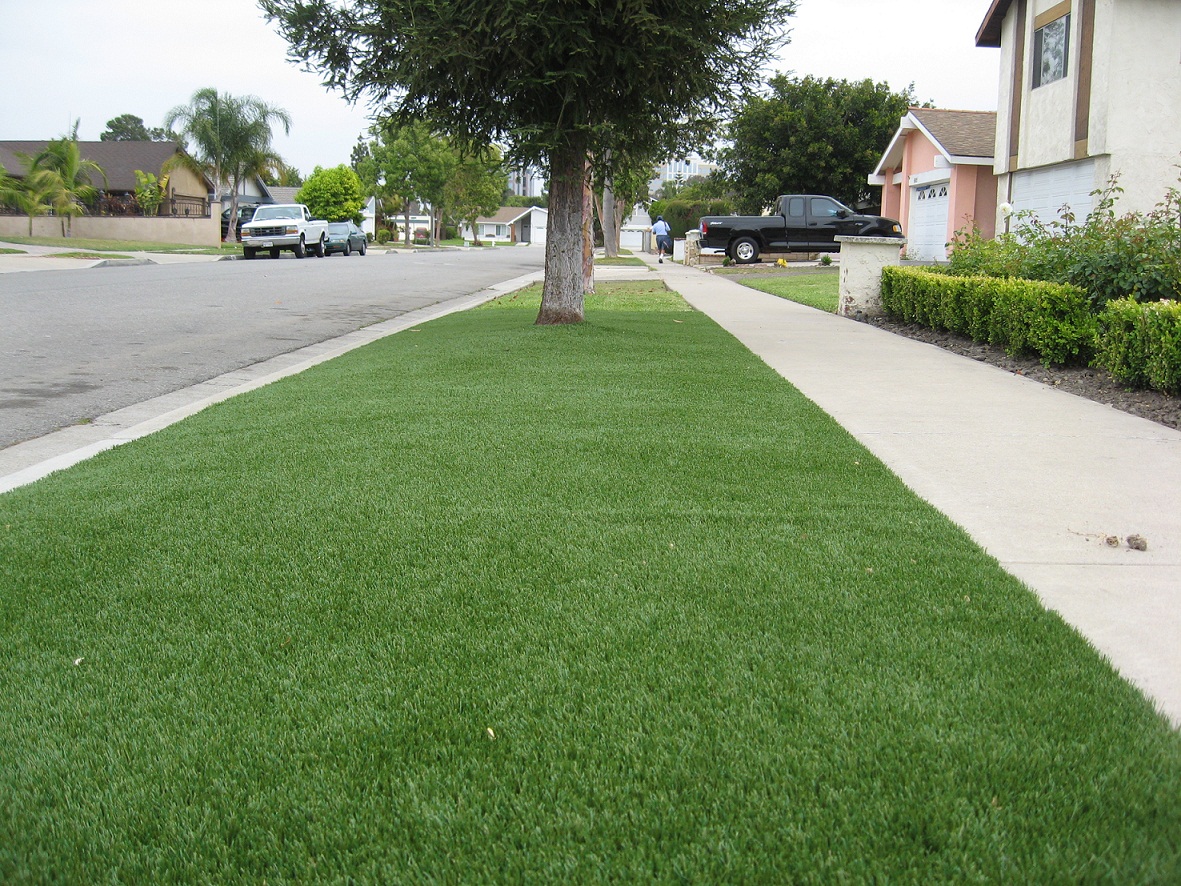
Weather: Our turf can be installed in the mountains, where rain and snow drain very well with no flooding issues. Wind is not a worry if the installation has been done properly. In the hot Southwest part of the US, the grass can get quite warm to the touch during the midday direct sun. The grass does not retain heat in the shade or darkness like rock. The turf can easily take even the hottest direct sunlight without damage, providing that there isn’t any strong reflection or sun magnification.
Pets Smell: The best solution for getting rid of pet smell is to use ZeoFill. It works as a molecular sieve creating a cation exchange, which occurs when two or more positively charged compounds or elements exchange places on a negatively charged host. This exchange process removes charges and essentially removes ammonia in pet waste.


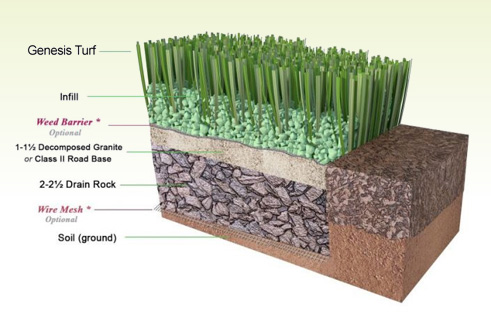


 As you can see on the diagram above, a wire mesh is installed on top of the soil, after you removed dirt and existing sod, and before you start spreading and compacting drain rocks and decomposed granite. A Wire Mesh, or a wire barrier, is meant to prevent gophers and moles from damaging lawns. Are those critters populated in your area? Then, no matter what type of lawn you install, natural or artificial, you want to protect it. There are special “gopher wires” that are made specifically for this reason – to make strong underground barrier below the surface of your lawn. This step is optional. Some regions have no issues with gophers, while in others, gophers’ over-population affects the whole gardening and landscaping experience. Gophers love to tunnel their way up your lawn and to turn it into their personal salad bar. They are not too interested in artificial turf with rocks and granite underneath. If there are no problems with gophers and moles in your installation area, a wire mesh can be an unreasonable expense.
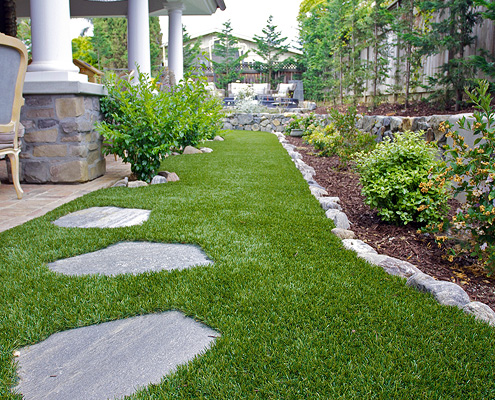
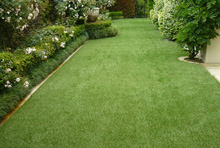
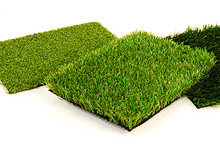
 Artificial grass installation can take from 5 to 12 hours on average to install on any small to average size lawn. We have an artificial lawn installed in Auburn, California in the beautiful Lake of the Pines community. The most important part of synthetic turf installation is the base preparation. If your site is properly prepared, spread, and well compacted with drain rock, road base, or decomposed granite, the second step (see the second video) is easy. You just need a pair of scissors, measuring tape, and a pair of strong hands to lay out the turf on the base, seam the seams, and fasten the turf down with staples or nails.